Manual to use Laser Machine from VERONA Fablab
Before using laser :
- Need to identify each part of the drawing that need different operation (Cut / Engrave / Mark)
- Put each operation on a different layer
- Export your job as DXF files
The different operation possible :
- Cut : the laser will follow drawing/trajectory to cut through material
- Engrave : Laser will fill a surface/shape to burn surface of material
- Mark : Laser will follow drawing/trajectory to burn surface on material
In the laser Software, Cut and Mark will be considered as the same job, only parameters will be differents, where Mark will be less powerful than Cut.
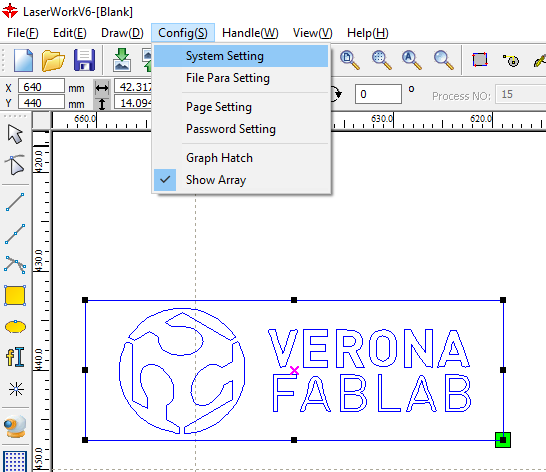
On the laser part, preparation on software “LaserWork V6” :
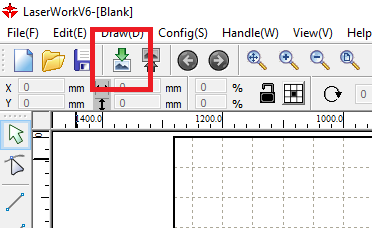
Import DXF file previously generated
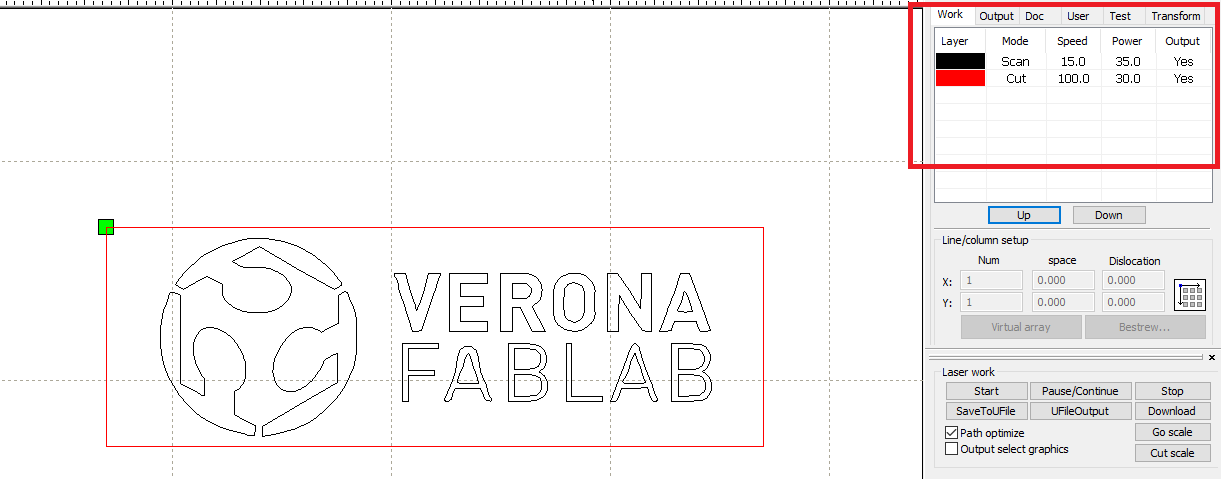
All layers of the file shall be differentiated by colors in the “work” tab
Note
The position of the job doesn’t matter
Verify if the dimension of the job are respected
- select the job in the software, draws appear on blue on the window
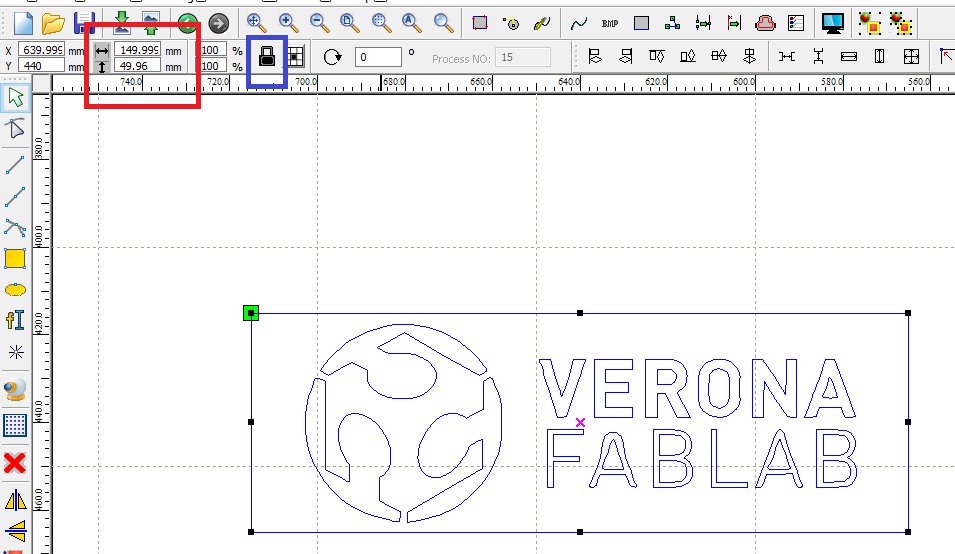
verify the dimension of it (in red), change the dimension if needed, and respect proportion in needed (in blue)
FOR ARRANGING JOB
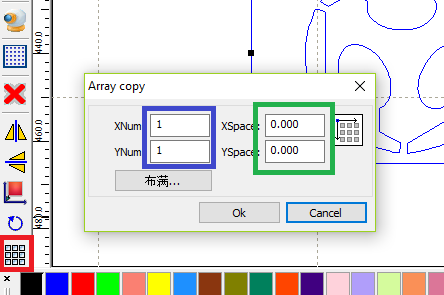
If needed reproduce the job with “matrix copy” (in RED).
If doing a “matrix copy”, if no x&y width, there will be overlap, you can “delete overlap” to avoid the laser to pass twice on the same path
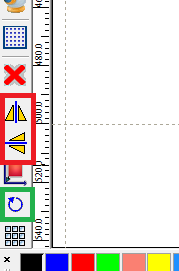
Rotate the job (Iin GREEN) or mirror it (in RED)
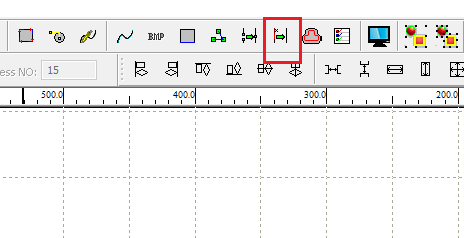
The start point will determine where the laser head will start the job (displayed as the green square in the following image). You can configure the start point.
config -> system setting
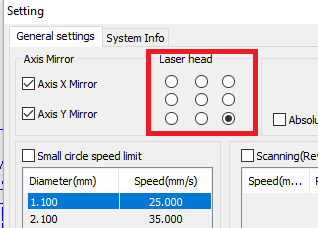
Select where laser head will start in the “Laser Head” menu (in RED), this can be change regarding the material you have
Configure operations parameters
| MATERIALE | VELOCITA (mm/s) | POTENZA TAGLIO (min/Max Power in %) |
|---|---|---|
| Pioppo 3mm | 30/35 | 77/80 |
| Pioppo 4mm | 25/27 | 77/80 |
| Pioppo 5mm | 20/22 | 77/80 |
| Pioppo 6mm | 16/18 | 77/80 |
| Pioppo 8mm | 11/12/19 | 77/80 |
| Pioppo 10mm | 08/09/19 | 77/80 |
| Bettula 3mm | 18/20 | 77/80 |
| Bettula 6mm | 10/11/19 | 77/80 |
| Plexiglass 3mm | 14/15 | 77/80 |
| Plexiglass 4mm | 10/11/19 | 77/80 |
| Plexiglass 5mm | 08/09/19 | 77/80 |
| Cartonlegno 1mm | 70/80 | 55/60 |
| Cartonlegno 1.5mm | 60/70 | 55/60 |
| Cartonlegno 2mm | 50/60 | 55/60 |
| Cartonlegno 3mm | 40/50 | 55/60 |
To configure CUT

Double click on a “CUT” opperation in “Work” tab
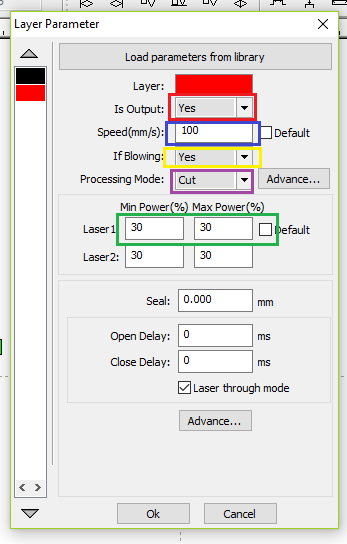
- you can select the type of opperation with the processing mode (in PURPLE)
- put “YES” for “is OUTPUT” to validate the operation (in RED)
- put laser speed (in BLUE)
- put laser power min / max (with not more than 4 as difference) (in GREEN)
- For laser parameters, use data regarding the material used
- put “blowing” as YES (in YELLOW)
To configure SCAN
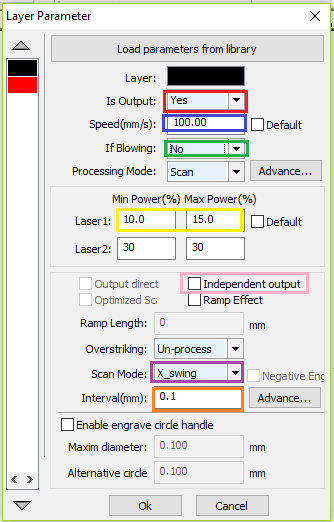
- put “YES” for “is OUTPUT” to validate the operation (in RED)
- put laser speed (in BLUE)
- put laser power min / max (with not more than 4 as difference) (in YELLOW)
- For scanning, go as fast as possible (around 100 for laser speed) and with low parameters, around 10 is enough for wood engraving.
- put “blowing” as NO (in GREEN), this shall avoid accumulation of dust on material
- select scan mode (in PURPLE)
- swing mode will spend less time moving laser head
- unilateralism mode will start each line of engraving from the same side, will take more time
- select independent output, so engraving will do one shape after another, and quality will be better (in PINK)
- Choose laser interval(width) that will impact engraving aspect, by default is 0.1mm (in ORANGE)
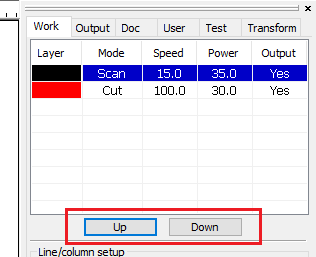
In the work tab, order the operation with a preference for SCAN before CUT
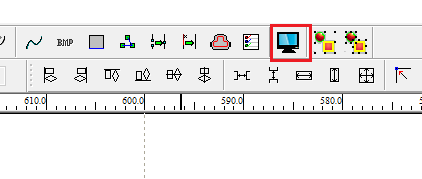
Verify consistency of the job with simulation
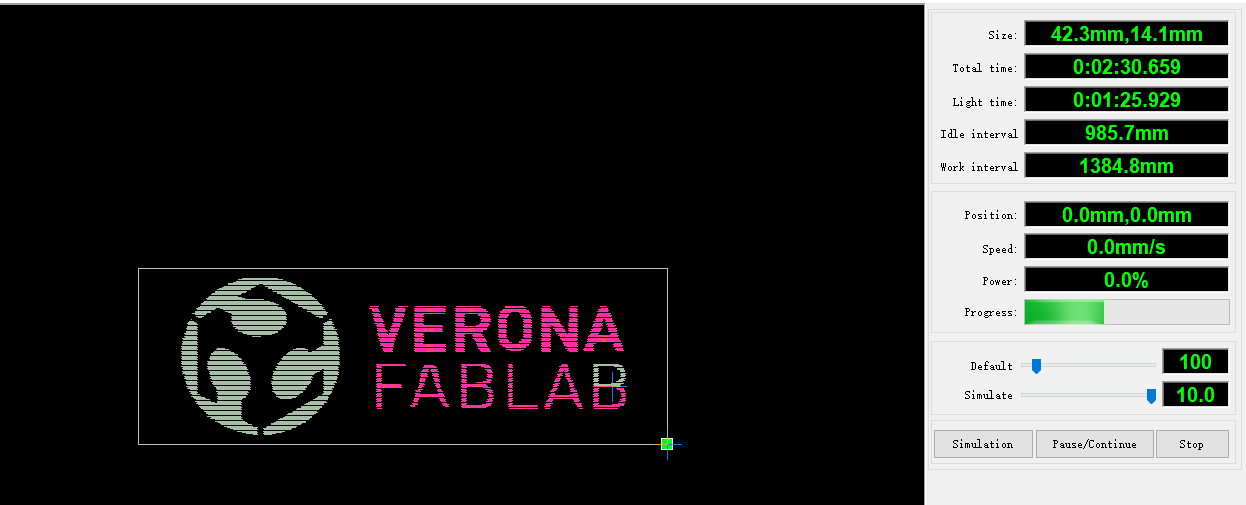
Verify consistency of the job with simulation
Time to use laser !!
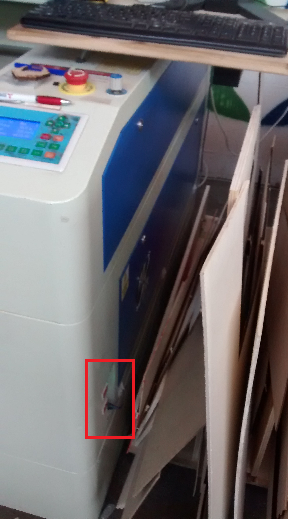
Open the laser lid install material on the laser bed
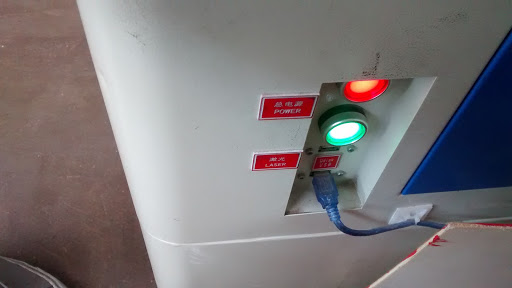
Turn on laser machine with RED button Turn ON laser with GREEN button
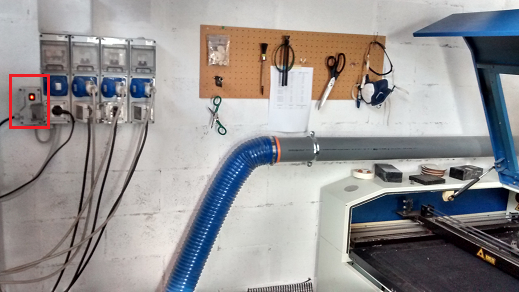
Turn ON ventilation
move the laser head with arrows, take in account the start point of the job defined before
settle the laser focus (laser bed height) with 5mm stake
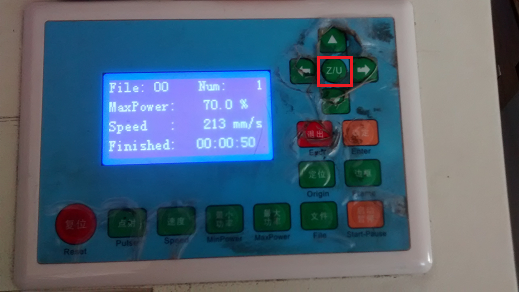
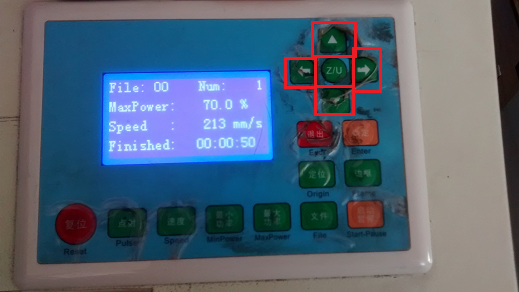
on laser dashboard press “Z/U” button (in RED)
move bed height with left/right arrows so stake fill gap between laser head and material
remove stake

check size of the job with Go Scale
close laser lid
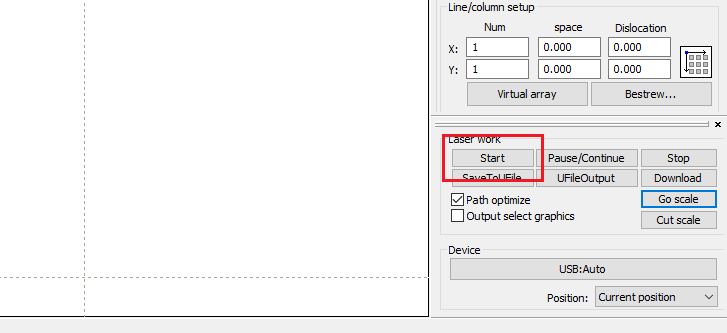
start the job
A different material setup to avoid burn at the bottom (in RED)
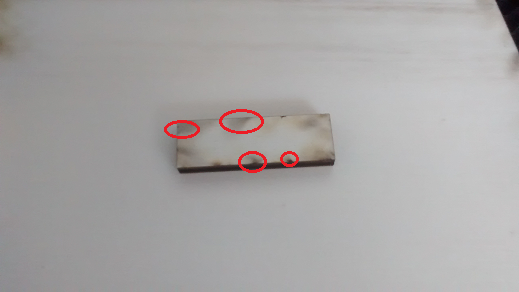
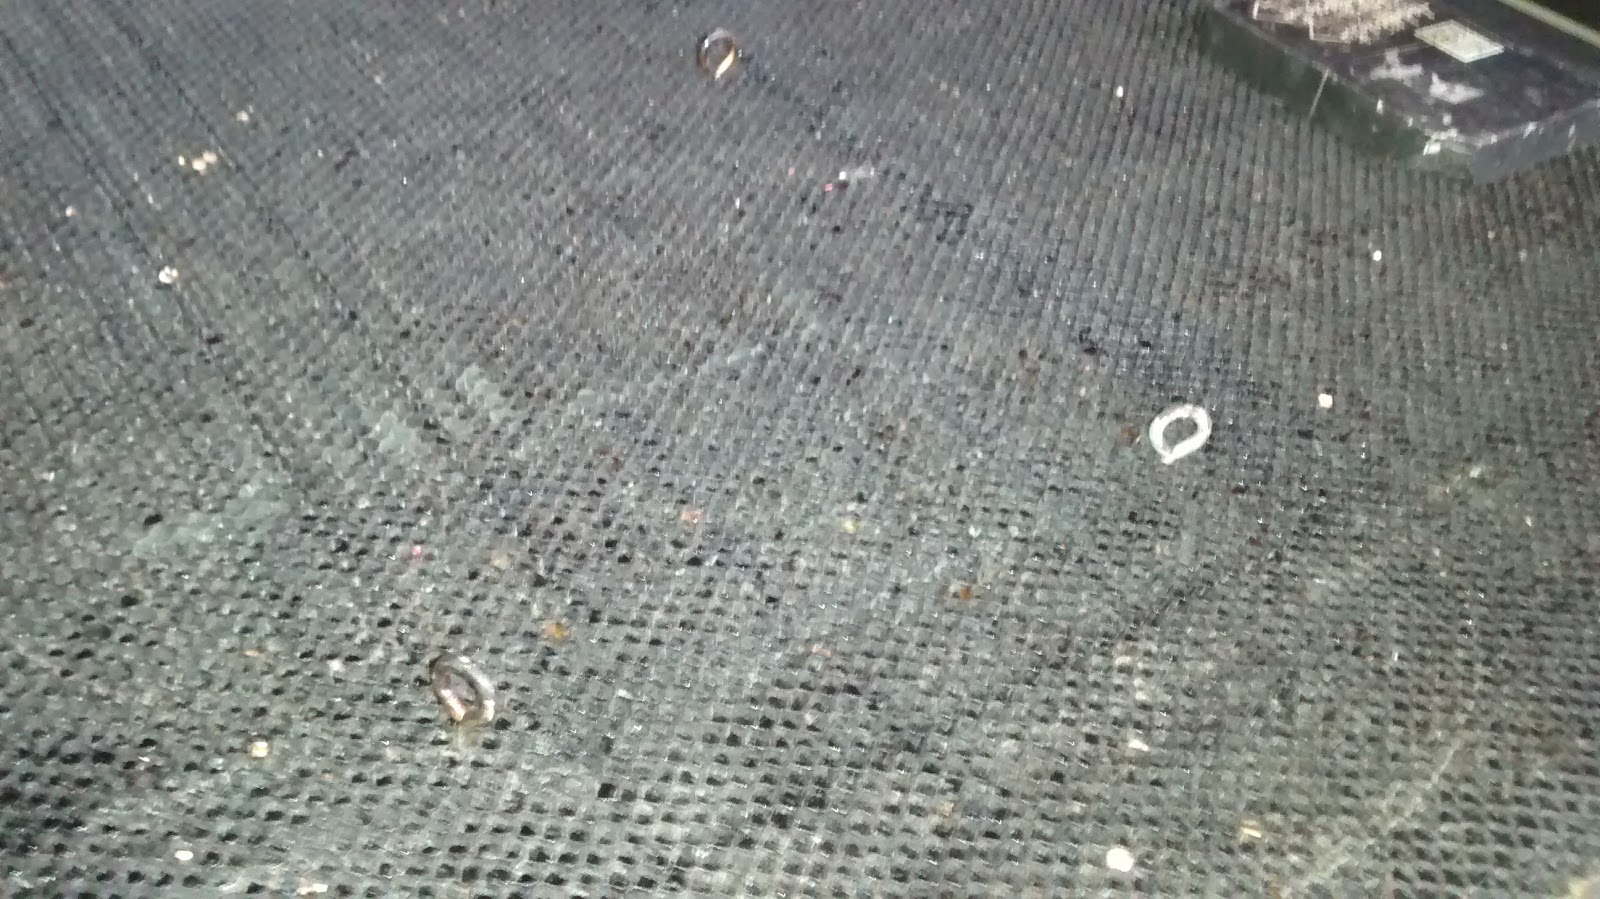
add screws on the bed
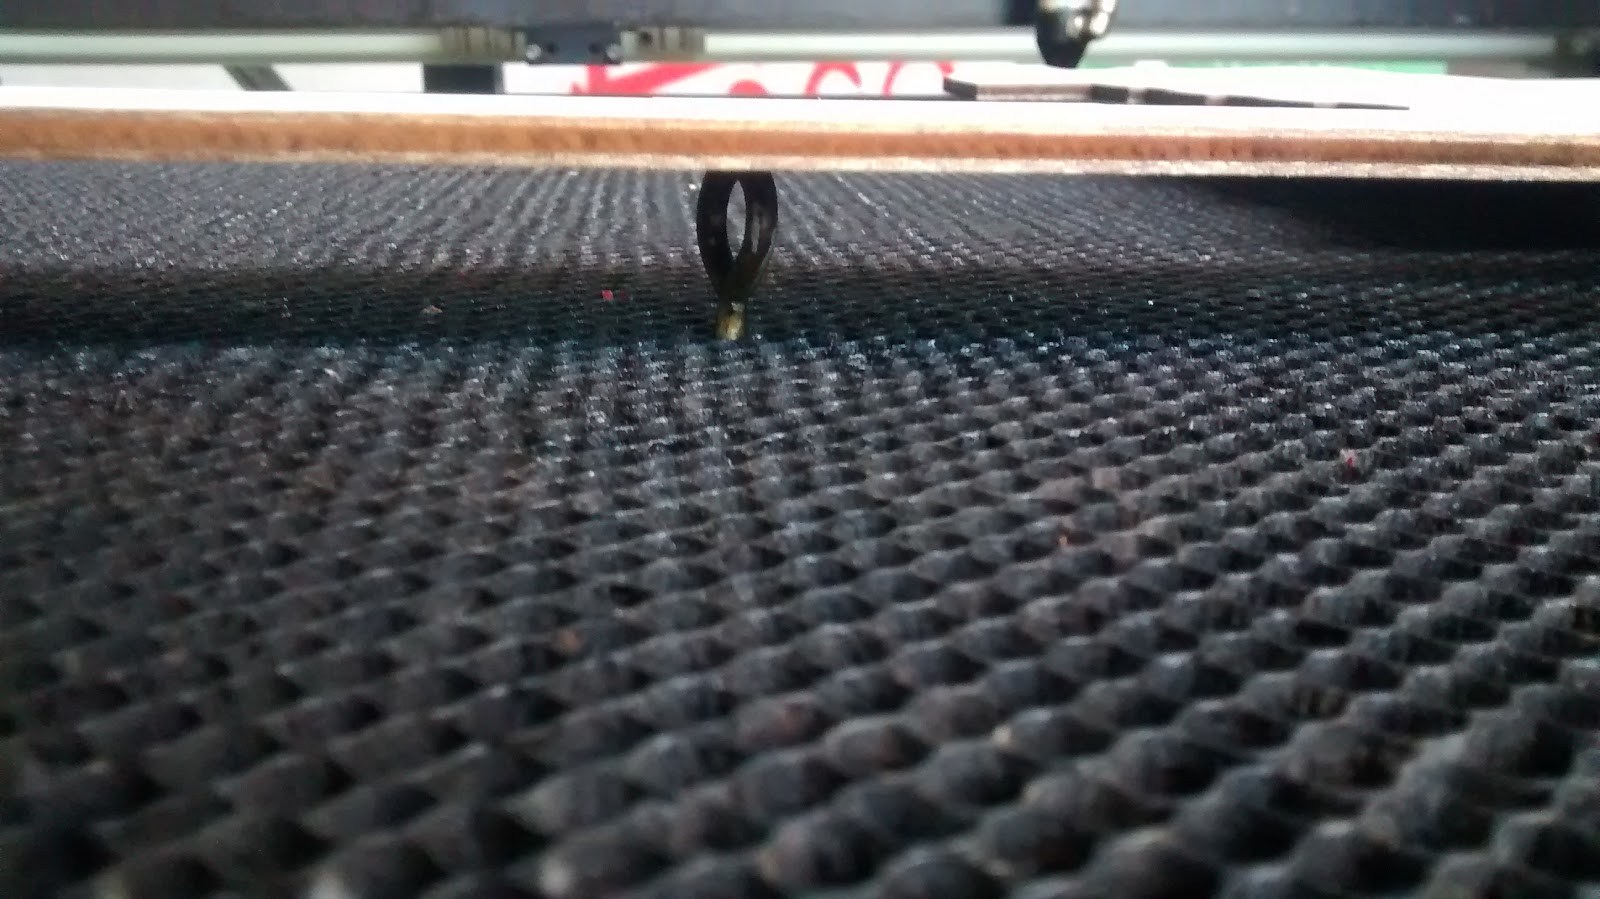
put the material on the bed
adjust accordingly z height